Dumpster Size & Dump Fees for Your Home Remodel
Planning a remodel? Learn how to choose the right dumpster size, estimate dump fees by weight, and avoid surprises with a simple homeowner checklist.
Choosing the Right Dumpster Size for Your Remodel
We recently got a call from a homeowner — let’s call her Lisa — who was starting a bedroom and bathroom remodel. She’d seen one of our dumpsters in her neighbor’s driveway and decided it might be time to get her own. Like a lot of folks, she wasn’t sure what size she needed or how the dump fees actually worked.
Lisa’s contractor had tossed out a flat “about $500” dump number, but she and her husband wanted to use the dumpster to clear out some extra household clutter too. That’s when the questions start: Will 20 yards be enough? Should we go up to 30? How much will the landfill actually charge us?
We walked Lisa through the same basics we go over with almost every remodel customer. We’ll share that here so you can feel confident choosing the right dumpster and understanding your final costs.
Our Most Common Dumpster Sizes for Home Remodels
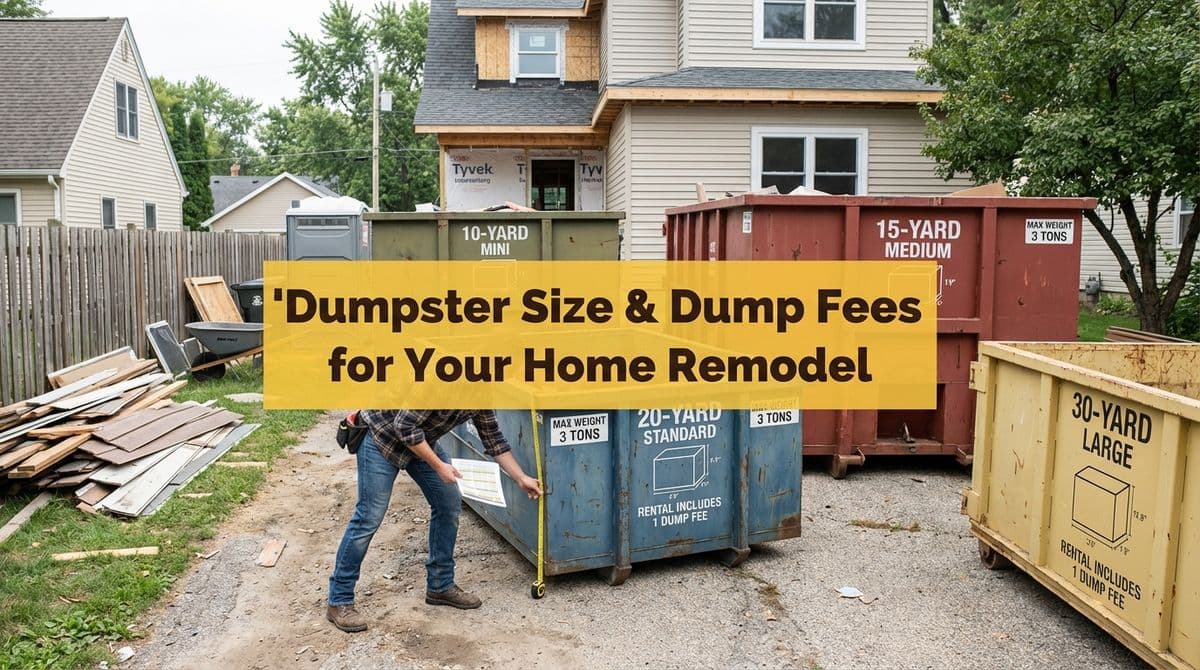
For remodeling projects, we typically recommend one of two sizes:
- 20-yard dumpster – Most common for standard home remodels (bedrooms, bathrooms, smaller kitchens, flooring).
- 30-yard dumpster – Better for larger projects or when you want to do a big clean-out along with the remodel.
We also offer a 12-yard dumpster, but we usually see that used more for smaller clean-up jobs, not full remodels.
When Lisa told us they were taking down at least one wall and pulling out old bathroom tile, we suggested starting with a 20-yard dumpster unless they knew they were adding a lot of bulky items. If you’re doing multiple rooms, major structural changes, or plan to add attic/garage clean-out to the project, we often recommend jumping up to a 30-yard.
How We Charge: Rental Rate + Actual Dump Fees
One thing that surprised Lisa was that we separate the rental rate from the dump fees. For remodels, we do that on purpose so you only pay for the actual weight you put in the dumpster.
Here’s how it works in simple terms:
- Flat dumpster rate – For example, a 20-yard dumpster might be $275 for 14 days.
- Dump fees – Charged by weight at the landfill (in our area, for example, it’s about $70 per ton).
That means if your 20-yard dumpster ends up at 2 tons, your dump fee portion would be roughly $140. At 3 tons, about $210. We pass through the landfill cost we get from the volume we do, instead of marking it up with a guess.
We told Lisa the same thing we tell everyone: we’ve seen some remodel loads come in under a ton, and we’ve seen some go over 5 tons. The averages we see are:
- 20-yard dumpster: usually about 2–3 tons for a typical home remodel.
- 30-yard dumpster: usually about 3–4 tons, especially when combined with a household clean-out.
How to Estimate Your Weight (So Fees Don’t Surprise You)
The biggest factor in weight is what you’re tossing, not how full the dumpster looks. We walked Lisa through a quick rule of thumb that you can use too:
- Lighter materials (drywall, wood framing, cabinets, light furniture) = usually on the lower end of the range.
- Heavier materials (ceramic tile, brick, block, concrete, shingles, dirt) = weight climbs quickly.
In Lisa’s case, we reminded her that bathroom tile and possible masonry can add up. If your project involves a lot of tile or you’re removing brick or concrete, we like to talk that through ahead of time so we can help you choose the best size and avoid overloading.
What Can’t Go in the Dumpster?
One of the most important parts of our conversation with Lisa was going over what’s not allowed in the dumpster. Landfills and transfer stations have strict rules, and putting in the wrong items can lead to extra fees or rejected loads.
As a general guide, do not place these items in your dumpster:
- Paint, stains, and solvents (especially if liquid or not fully dried)
- Oil, gasoline, or other automotive fluids
- Batteries (car or household)
- Chemicals, pesticides, and pool chemicals
- Propane tanks or pressurized cylinders
- Refrigerators, freezers, or AC units with refrigerant (without proper handling)
- Medical or biohazard waste
Construction debris like lumber, drywall, tile, cabinets, and household junk are usually fine. If you’re ever unsure about a specific item, we always encourage you to ask us when you schedule. We’d much rather answer a quick question than have you run into issues later.
Before the Dumpster Arrives: A Quick Homeowner Checklist
When Lisa asked about timing, we let her know we aim for delivery within about 24 business hours once she was ready. To make sure everything goes smoothly, we suggested she run through a simple checklist. Here’s the same one for you:
- Pick a clear drop spot – Usually a driveway or firm, level surface with room for the truck to maneuver.
- Move vehicles and trailers – Clear the area before we arrive so we’re not blocking anyone in.
- Protect the surface (optional) – Boards under the wheels can help protect more delicate driveways.
- Plan your loading path – Think through how materials will move from the demo area to the dumpster.
- Separate prohibited items – Set aside anything that can’t go in, so it doesn’t get tossed in by mistake.
These few steps help us set the dumpster exactly where you want it and keep the project moving.
What If the Dumpster Fills Up Early?
Many homeowners are like Lisa and worry, “What if we fill it faster than we think?” That happens, especially when you start cleaning out extra rooms while the dumpster is on-site.
Here’s what we typically do:
- Call us when you’re getting close to full – Don’t wait until debris is stacked over the top.
- We schedule a pickup or swap – We haul the full dumpster to the landfill and either remove it or drop an empty one back in its place.
- You’re billed for the new load’s dump fees – Each haul has its own weight ticket and landfill charge.
If you know from the start that you’ll have a lot of debris, we can plan for a potential swap when we set up the initial rental. That way, your remodel crew and your clean-out plans don’t have to slow down.
How Long You Keep the Dumpster (And Scheduling Pickup)
For Lisa’s remodel, 14 days was more than enough time. Our standard remodel rental period is often around two weeks, which works well for most projects. If you need it longer, we can talk about extended rental options when you book.
When you’re done loading:
- Give us a call to schedule pickup.
- Make sure nothing is sticking out over the top or hanging over the sides.
- Confirm that access to the dumpster isn’t blocked by cars or materials.
We told Lisa the same thing we tell all our customers: if you keep us posted on your timeline, we’ll work with you to get the dumpster delivered and removed when you need it, often within about 24 business hours.
Putting It All Together for Your Remodel
By the end of our call, Lisa felt much more confident: she knew which size dumpster would likely fit her project, how the rental rate and per-ton dump fees would work, and what to avoid tossing in.
If you’re planning a home remodel and want to clear out a little (or a lot) extra while you’re at it, we’re happy to walk through your project details just like we did with Lisa. With the right dumpster size, a clear understanding of how landfill fees are calculated, and a few simple prep steps, you can keep your project clean, on schedule, and on budget.